

Paper bags of all sizes have become a common part of our lives. Simple and elegant on the outside, environmentally friendly and safe on the inside—this seems to be our general perception of paper bags. However, there's more to paper bags than just that. Today, let's learn about paper bags. In this first installment, let's explore the most commonly used materials and their characteristics.
Paper bags are made from: white cardboard, kraft paper, black cardboard, coated paper, and specialty paper.
1. White Cardboard
Advantages of white cardboard: It's strong, relatively durable, and has excellent smoothness, resulting in rich, saturated colors when printed.
210-300g white cardboard is commonly used for paper bags, with 230g being the most commonly used.
2. Coated Paper
Advantages of coated paper: It has excellent whiteness and glossiness, allowing for a three-dimensional effect in printed images and graphics. However, it's not as strong as white cardboard.
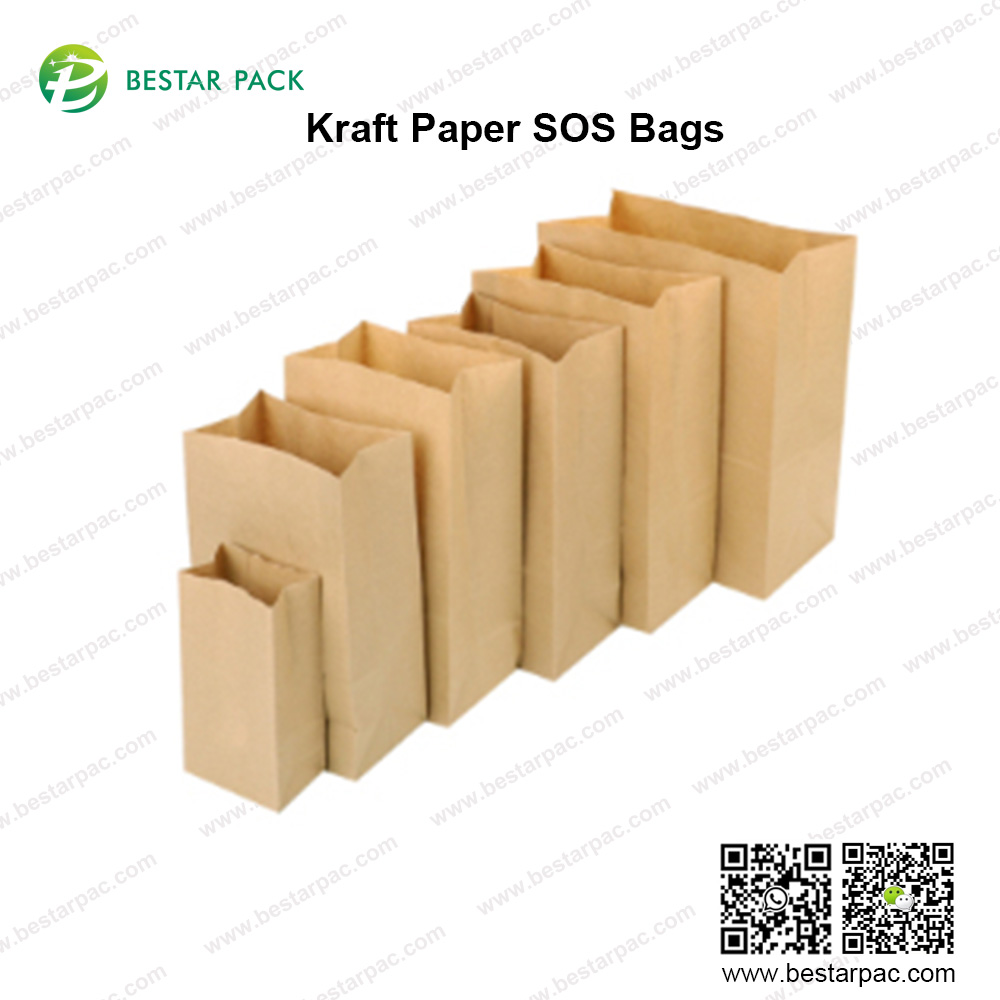
The thickness of coated paper commonly used for paper bags ranges from 128-300g. 3. Kraft Paper
Advantages of Kraft Paper: It is very strong and durable, and it doesn't tear easily. Kraft paper is generally suitable for printing single-color or two-color paper bags with limited color.
Common sizes are: 120-300gsm.
4. Black Cardboard
Advantages of Black Cardboard: It is strong and durable, and comes in a black color because it's inherently black. Its biggest disadvantage is that it can't be printed with color, but it can be used for hot stamping, such as gold and silver foil.
Sticker: This is the part that holds the bag together. The name varies by region, and some also call it a "sticky slit." There are two locations on a bag: one on the side and the other on the bottom.
Fold: Generally refers to the fold between the bag's opening and bottom. The fold at the opening is called the upper slit, and the fold at the bottom is called the lower slit.
Definition of the length, width, and height of a bag: A finished bag is typically propped up and placed on a table. The horizontal length of the front is called the length, the thickness of the sides is called the width, and the distance from the bag opening to the bottom is called the height.
Secondly, after knowing the finished dimensions of the tote bag (length, width, and height), you need to know how to create the unfolded dimensions in graphic design software.
New page width = bleed size (3mm or 5mm) + width - paper thickness (1mm) + length + width + length + margin (20mm)
New page height = top fold (40mm) + height + width/2 + margin (20mm)
It's mainly to facilitate die-cutting later. A larger bleed size is always easier to die-cut than a smaller one, and naturally improves work efficiency.
Because the bags are hand-glued, errors are inevitable. If the dimensions are not subtracted by 1mm, the side at this location will easily protrude above the front of the bag when it meets the margin. Subtracting 1mm will prevent this problem and significantly improve workers' efficiency when gluing the bags.
They aren't fixed. However, in most cases, the opening is 20mm and the top opening is 40mm. When printing large quantities of bags, the dimensions can be reduced to save paper costs.
When reducing the opening and opening, follow these two principles:
a. The top opening should cover the string hole.
If the top opening doesn't cover the string hole, the paper at the hole will be single-layered, making the bag easily tearable during use. When the top opening covers the hole, the paper at the hole will be double-layered, increasing the load-bearing strength of the hole and making the bag less likely to tear.
b. The width of the opening is determined by the actual weight the bag will bear and the thickness of the paper covering the bag. The wider the opening and the thicker the paper, the sturdier the bag will be and the less likely it will break during use. The actual load capacity of the bag is the primary factor determining the bag's performance. If the bag is light, the paper can be thinner, and the opening can be smaller accordingly. If the items being carried are heavy, thicker paper should be used, and the size of the glue tab should be increased accordingly. This will result in a sturdier bag.
The glue tab is usually placed on the right side, adjacent to the larger surface, to facilitate manual gluing.
This placement of the glue tab significantly improves worker efficiency during the later stages of gluing the bag. In theory, placing the glue tab on either the left or right side will work for both large and small surfaces, but the difference in the placement of the tab results in different work efficiency.
When making the die-cutting plate for the right glue tab, a dotting and line cutter should be placed. During lamination, the film should not completely cover the glue tab.
The blue, diagonal dotted line above the right glue tab in the image above indicates the location of the dotting and line cutter. The purpose of the dotting and line cutter is to allow glue to penetrate the dotted holes, making the bag stronger and less likely to delaminate. When laminating, avoid completely covering the glue edge. This helps the glue penetrate the paper. The bond between paper and paper is stronger than the bond between paper and film, which also ensures a stronger bag.
If the bag's paper is particularly thick, creating a notch at the top fold when making the die-cutting board will ensure a straighter finished bag.
When the bag's paper is particularly thick, such as paper weighing over 300g, the four corners of the top fold often warp during lamination. Creating a notch at the top fold can effectively prevent this warping.


